Today, I will show you how to launch a website based on the WORDPRESS engine in less than 5 minutes. We will be using Docker Compose, so our website will simply be in a container and isolated from other containers/services. This gives us the comfort of being able to quickly modify or even delete such a service at any time. All we need to do is remove the container.
Today we are working on Kali Linux, but of course, this method will work on other Linux systems, with only the commands differing depending on the specific distribution.
First, we update the packages:
sudo apt update
Install and start Docker:
sudo apt install -y docker.io
sudo systemctl enable docker --now

Docker Compose:

sudo apt install docker-compose

Now it's time for WORDPRESS. Create any directory, and inside it, create a file named docker-compose.yml

mkdir wordpress
touch docker-compose.yml

In the docker-compose.yml file, we need to configure everything according to our needs. Of course, there are many configuration possibilities, but today we will focus on the basic setup.

Here is an example of a basic docker-compose.yml configuration:


version: '3.1'

services:
  wordpress:
    image: wordpress
    restart: always
    ports:
      - 8080:80
    environment:
      WORDPRESS_DB_HOST: db
      WORDPRESS_DB_USER: exampleuser
      WORDPRESS_DB_PASSWORD: examplepass
      WORDPRESS_DB_NAME: exampledb
    volumes:
      - wordpress:/var/www/html

  db:
    image: mysql:8.0
    restart: always
    environment:
      MYSQL_DATABASE: exampledb
      MYSQL_USER: exampleuser
      MYSQL_PASSWORD: examplepass
      MYSQL_RANDOM_ROOT_PASSWORD: '1'
    volumes:
      - db:/var/lib/mysql

volumes:
  wordpress:
  db:

version: specifies the version of the file.
services: defines the services section, and each service will be run in a container.
wordpress: the name of the service in the container.
image: wordpress: specifies the Docker image that will be used to run the service.
restart: always: sets the container restart policy. In our case, "always" means the service will always restart if it stops running.
ports: 8080:80 maps ports from the host to the container. 8080:80 means that port 8080 on the host will be mapped to port 80 in the container.
environment: environment variables for the WordPress container. These set configuration parameters for connecting to the database:

WORDPRESS_DB_HOST: database host name, in this case, db, which refers to the database service name defined below.
WORDPRESS_DB_USER: database user name.
WORDPRESS_DB_PASSWORD: database user password.
WORDPRESS_DB_NAME: database name.
volumes: wordpress:/var/www/html mounts volumes, which allows for persistent data storage.
wordpress:/var/www/html means that the local wordpress volume will be mounted in the container at the path /var/www/html.
db: the name of the service that will represent the MySQL container.

image: mysql:8.0: specifies the Docker image for the MySQL service, in this case, mysql:8.0.

MYSQL_DATABASE: exampledb, the name of the database that will be created.
MYSQL_USER: exampleuser, the name of the database user.
MYSQL_PASSWORD: examplepass, the password for the database user.
MYSQL_RANDOM_ROOT_PASSWORD: if set to 1, MySQL will generate a random password for the root user.
volumes: wordpress and db are volumes that will store data for WordPress and MySQL, respectively.

After configuring this file, we proceed to start the container:

sudo docker-compose up
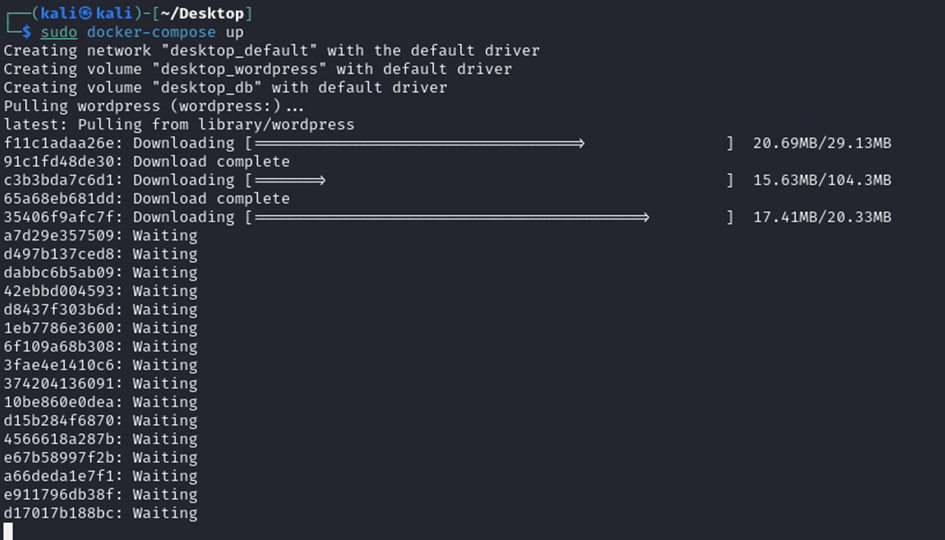
We wait until everything finishes correctly. After a short while, once the container is running, we navigate to localhost:8080.
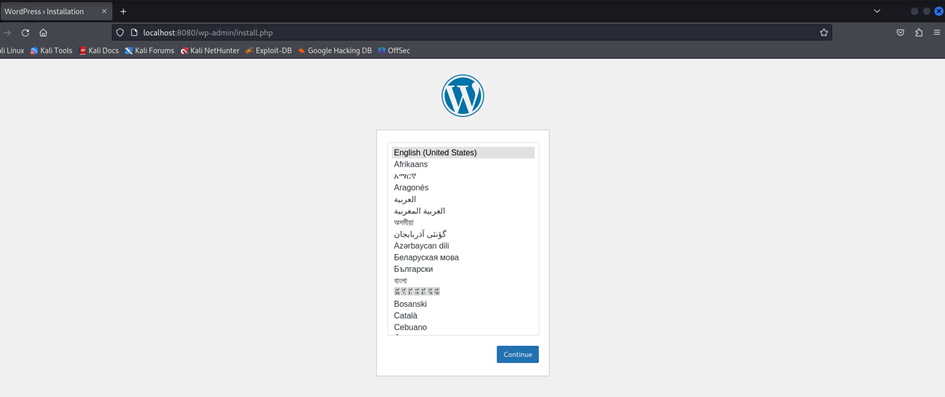
The installation does not require us to provide database details, only the site name, admin name, and password, so the installation will take at most half a minute.
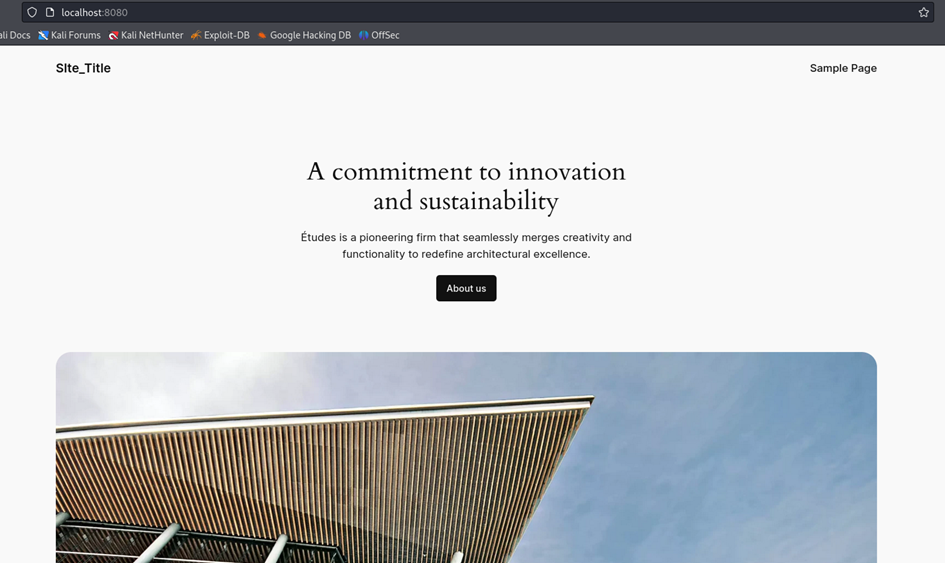
In this way, we managed to install WORDPRESS in a container in about 5 minutes. Of course, this is a very basic installation, so adding additional options will definitely take more time, but for testing purposes, this installation will be suitable.
We can also check which containers are running in our environment with the command:
sudo docker ps

As you can see, WordPress and the MySQL database are working correctly.

